From Greenhouse to Garden: How to Help New Plants Survive the Move
You spent real money on that Japanese maple. You picked it out yourself, carried it to the car like it was made of glass, and planted it in a spot you'd been planning for months. A week later, it looks like it gave up on life.
Welcome to the transplant shock trap — and you are absolutely not alone in falling into it.
Here at Frankie's Nursery, we see this play out all the time. Someone does everything "right" by the book, and their new plant still sulks, drops leaves, or quietly checks out. The frustrating part? The problem usually started before the shovel ever hit the dirt.
What's Actually Happening Inside the Plant
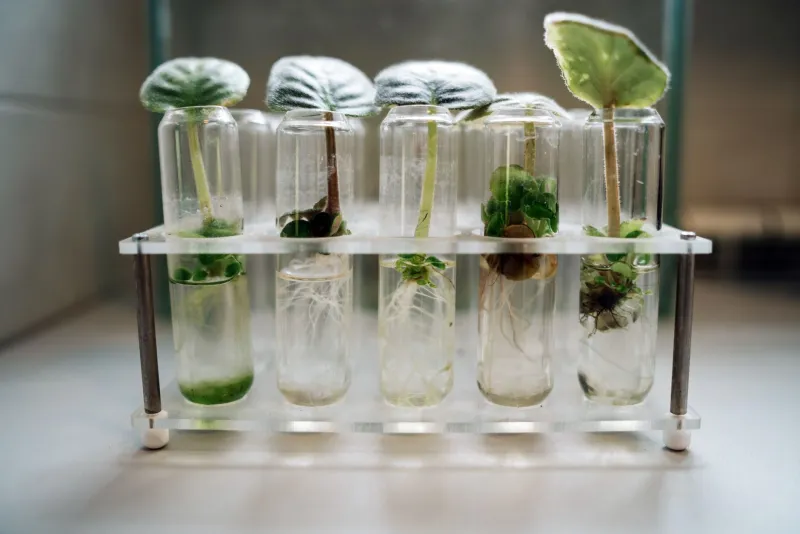
Nursery plants live a pretty cushy existence before they reach you. Greenhouses maintain consistent humidity, filtered light, regulated temperatures, and carefully timed irrigation. The roots have adapted to a contained potting mix — usually a peat or bark-based blend that drains quickly and holds moisture in a very specific way.
When you move that plant into your yard, almost every variable changes at once. The light intensity is different (often dramatically so). The humidity drops. Wind starts pulling moisture from the leaves. Soil composition shifts. And the root system, which was perfectly calibrated to its old container, suddenly has to navigate native ground — maybe clay-heavy, maybe sandy, maybe full of competing roots from nearby plants.
The plant's first response is to try to regulate all of this at once. It closes its stomata (tiny pores on the leaves) to slow water loss, which also slows photosynthesis. Growth stalls. In some cases, the plant starts dropping foliage as a survival mechanism — shedding leaves it can no longer afford to support.
This is transplant shock. It's not a disease. It's not a soil deficiency. It's physiological stress from a rapid change in environment, and it's almost entirely preventable if you slow the transition down.
The Conditions That Make It Worse
Not every plant experiences the same level of shock, and knowing what amplifies the stress helps you plan around it.
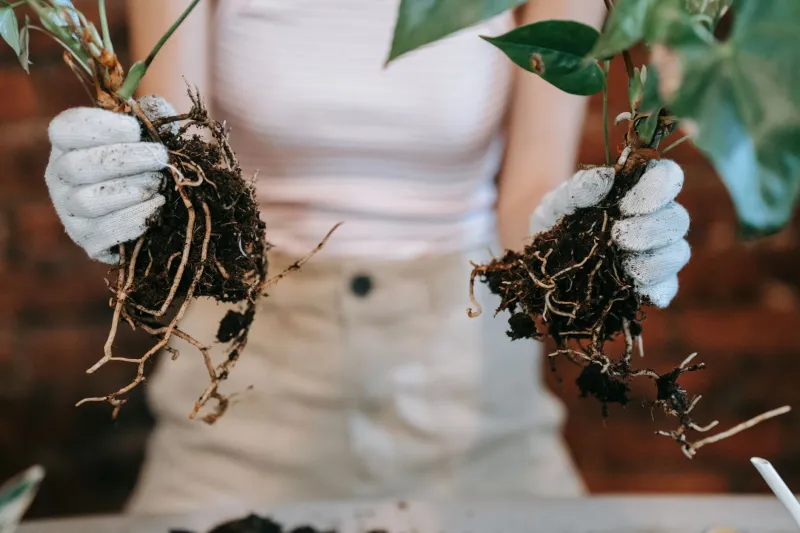
Bare or damaged roots are the biggest culprit. Even minor root tearing during planting disrupts the plant's ability to take up water right when it needs it most. Circling roots that aren't loosened before planting continue to circle, eventually girdling the plant over years.
Planting in peak heat compounds the problem. When air temperatures climb above 85°F, plants are already working hard to cool themselves. Add the stress of a new environment and you've stacked the deck against them.
Skipping the soak before planting is a mistake more people make than you'd think. A dry root ball goes into the ground dry, and even if you water well after planting, the tightly packed roots may not absorb moisture evenly for days.
Overfertilizing immediately after planting is another common error. It feels logical — give the struggling plant a boost, right? But fertilizer salts pull water away from stressed roots, making things worse. A plant in shock needs water and stability, not nutrients.
A Step-by-Step Acclimatization Protocol That Actually Works
This is the process we walk customers through at Frankie's, and it's the same approach commercial growers use when transitioning plants between production environments.
Step 1: Water the plant thoroughly before it leaves the nursery (or as soon as you get home)
Set the container in a bucket or tub and let it soak for 20–30 minutes. You want the entire root ball saturated, not just the surface. A hydrated plant handles stress far better than a dry one.
Step 2: Time your planting strategically
Aim for early morning or evening, and pick a cloudy day if you can swing it. Avoid planting in full afternoon sun during summer. In most parts of the US, late spring and early fall offer the most forgiving conditions — temperatures are moderate, and rainfall is more reliable.
Step 3: Dig a generous hole — wider than you think you need
The hole should be two to three times the width of the root ball but only as deep as the root ball is tall. You want the roots to spread outward into loosened soil, not downward into compacted ground. Planting too deep is one of the most common causes of long-term decline, even in plants that seem to recover initially.
Step 4: Loosen the roots before planting
Gently tease apart any circling or matted roots. For plants that have been in containers a long time, use your fingers or a hand cultivator to break up the outer inch or two of the root ball. This encourages outward root growth and helps the plant establish faster.
Step 5: Backfill with native soil — don't over-amend
This one surprises people. It's tempting to fill the hole with premium potting mix or heavily amended soil, but research consistently shows that plants establish better when backfilled with native soil. Amending only the hole creates a "bathtub effect" where the roots circle within the amended zone rather than pushing outward. Save your compost for top-dressing.
Step 6: Water deeply and slowly at planting, then again every few days
After backfilling, water slowly and deeply — you want moisture to reach the bottom of the root ball. For the first two to four weeks, check soil moisture every two to three days. You're aiming for consistently moist but not waterlogged. A two- to three-inch layer of mulch over the root zone (kept away from the stem) helps retain moisture and moderate soil temperature.
Step 7: Hold off on fertilizer for at least four to six weeks
Once you see new growth — actual new leaves or shoots — that's your signal that the plant has started establishing. That's when a gentle, balanced fertilizer can help. Not before.
What "Normal" Recovery Looks Like
Even with the best technique, some plants will still look rough for a few weeks. Leaf drop, wilting in the afternoon heat, and a general lack of enthusiasm are all normal during the adjustment period. What you're watching for is active decline: blackening stems, mushy roots, or complete collapse.
If a plant is just sitting there looking unimpressed, give it time. Some trees and shrubs spend their entire first season building root systems underground before putting on any visible growth. The gardening phrase "first year sleeps, second year creeps, third year leaps" exists for a reason.
The Bigger Picture
Transplant shock isn't a sign that you did something terribly wrong. It's a sign that plants are sensitive to change — which, honestly, is also what makes them so responsive to good care. When you understand what's stressing a plant, you can meet it where it is instead of guessing.
At Frankie's, we always say the best investment you can make in a new plant isn't a fancier fertilizer or a prettier pot. It's the fifteen extra minutes you spend getting the transition right. That's where survival rates actually improve — and where the difference between a garden that thrives and one that frustrates gets decided.